Posts may contain affiliate links. As an Amazon Associate, we earn from qualifying purchases and collect a small commission at no cost to you. This helps my blog to keep going. Thank you! For more info, read my disclosure policy.
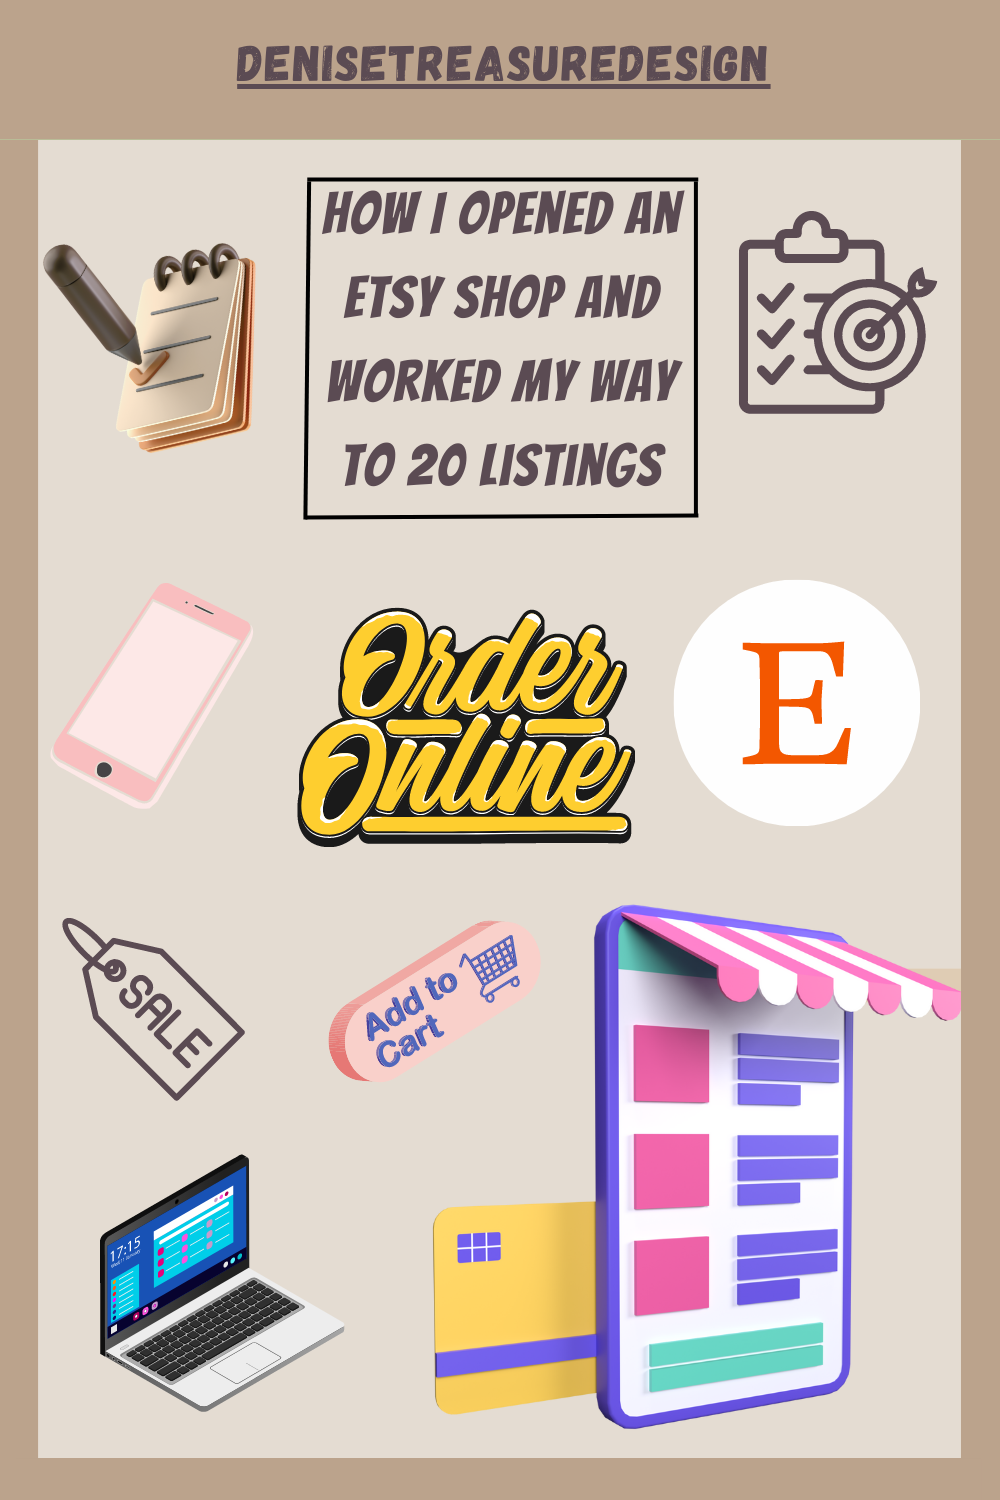
Why I Opened An Etsy Shop
I have been a blogger for over 4 years and I decided to add an Etsy shop to what I do. I can now write blogs for my shop and products on social media platforms, as well as articles on personal development. It will keep me busy, as I love doing both.
I first signed up on Etsy as a buyer to shop online and look around at the different categories and products. Several months went by and then I thought I have done arts and crafts projects all my life, so why can’t I create products that I can sell on Etsy?
I started listening on YouTube on how to set up a shop and read up on all the policies and how we create listings. It was overwhelming in the beginning and a lot of learning, as I had to figure out a niche of what products and categories I wanted to create. Greeting cards and tie blankets were the only products I had made recently.
I have always liked planners and used them in my blogs for focus and organization, so I started with those. I had already been using Canva for years and it was where I created designs for my blogs. At least I had that part down.
Now I had to watch many videos and I found certain people that I liked and started listening to their videos. Now I knew the tools and products I would need to start my inventory. This is when Amazon started loving me. They were dropping off packages several times a week.
How And When I Started Creating Greeting Cards
In 2007 when I was still working I started creating greeting cards with some of the ladies I worked with. We went to classes and learned many different techniques. Our younger son was going to college away from home, so I made one of the bedrooms into a craft room.
I was buying everything that was the trend in creating cards. I made cards for all the holidays and we made cards for each other’s birthday. It was so much fun to do and then see what everyone made.
He was gone for only 2 years and then he wanted to go to a different college close to home. Now I needed to find a place for all my craft products. That was in another bedroom that was turned into an office.
I was a Realtor for 15 years full-time and part-time. I retired sometime around 2019 and I started taking a course on blogging. The instructors gave us step-by-step instructions so we were ready to launch at the end of the course. I won a contest award within two weeks that about 50 bloggers joined. It was my older son’s struggle with addiction.
Making Assorted Planners
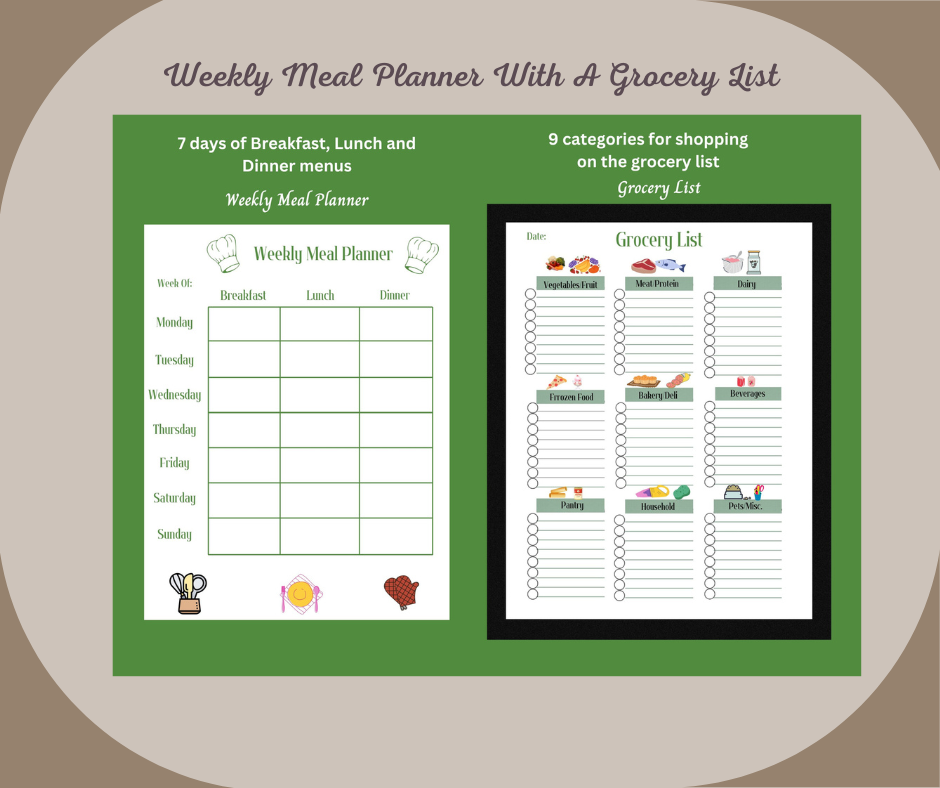
I have loved doing my blogging and as I mentioned at the beginning of this post I also decided to open an Etsy shop. Now back to using Canva and creating planners. Planners are digital products that are downloaded using a link and the buyer does not get a physical product. The link comes in a PDF format so they can use this link to make as many copies as they need.
The Canva templates made it so easy to change your style and brand in creating the planners. Since planners were sent as an instant download you don’t need to worry about packaging and shipping. You do have to print them out to take the pictures for the listings. Then you can use them yourself or give them as a gift to someone. Now I have 5 listings.
Materials I Used for Planners
- Canva template designs (Canva)
- Hammermill premium paper Inkjet & Laser Paper 24 Lb, 97 Bright, Made in the USA (Amazon)
- Size 8.5 X 11 paper (Amazon)
- A Digital and PDF link that the buyer can download instantly (Etsy)
Making Notepads And To-Do Lists
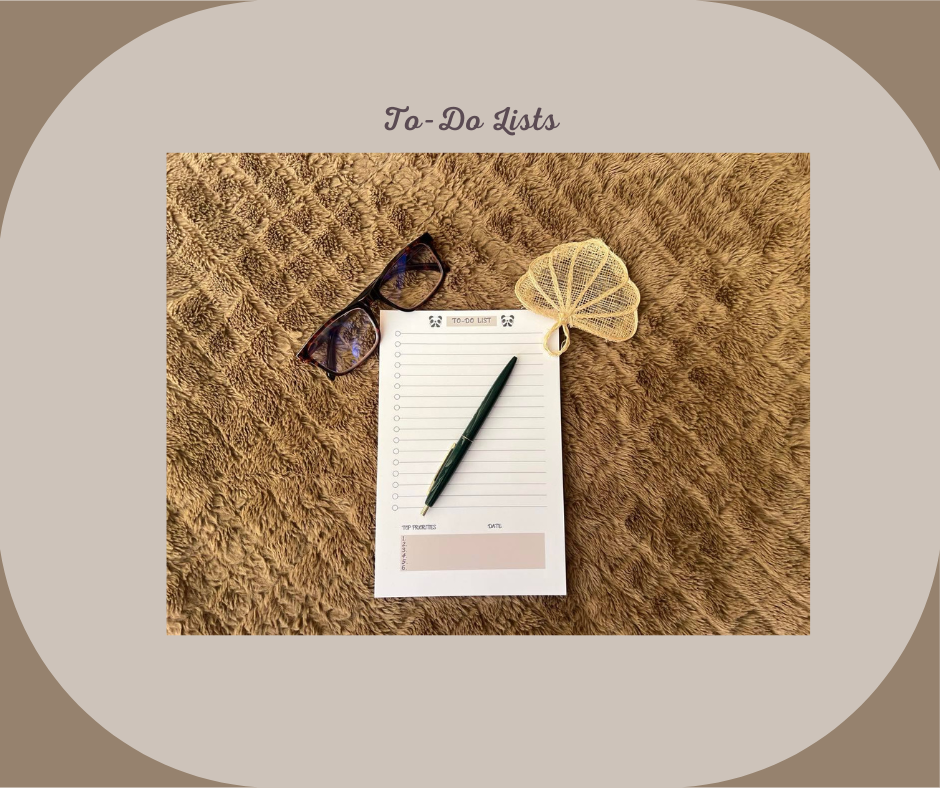
Next, I was going to make notepads and to-do lists. This is the first physical product I made. It was a learning process and got better the more you made them. More videos to watch and tools to buy.
Was Time To Replace The Laptop And Printer
Technology also suddenly became a problem before I got started! I realized my printer and tablet needed to be replaced once I was creating digital products. Last September I bought an HP laptop and an HP Printer. The older printer was a Canon and had worked great for years. I bought the new printer as the old Canon was Windows 10 and the HP was Windows 11, and I was told they were not compatible.

At first, I loved the new printer, but when I tried putting custom sizes in Canva that had always worked before were not printing in the size that was showing in Canva. They would be really small at times and others took up the whole page, and others were chopped off on the edge of the paper.
I tried everything and asked Canva what could be wrong, talked with other people who also were working with digital products, and talked with HP for hours until they finally said they could not help me and that I could not get a refund. They wanted me to send the printer back to the company to see if they could find out what was wrong, but did not provide a box, ( as I had recycled the original box).
I could not get a response from the post office and could not find a box for the size of a printer. I was becoming so frustrated as I wanted to get the products ready to add to the listings, and no one was able to fix my problem! They couldn’t even figure out the settings for the sizes I wanted.
I then decided to use the old printer and the tablet temporarily so I could become productive in my new business. Now that I was working on notepads, there was a lot of printing, so the printer was getting a workout. After about a month of printing on the old printer it started smearing and showing the print differently.
I did clean and align the printheads and that didn’t work. At times it would print correctly and then it would smear again. Luckily I was able to get enough without any smears and finished the pad I was making. Now what was I going to do?
After thinking this through, I decided I could sell the new printer as it had little use or keep it as a printer the whole family can use. I started looking at printers again that were going to have settings for different sizes you might need. Finally, when I was watching a video I found the right printer that was made specifically for creating crafts. I ordered it within a few days from Amazon and I LOVE it!! It prints in any size you want and prints quickly. It took forever on the old printer.
So if you are looking for the right printer when working with digital products and custom sizes this is the perfect printer. It is a Canon TS9521C and was $299 on Amazon and at times you can find it for $199. Amazon has a payment plan at certain times. I hope this will help you so you won’t go through the frustrations I went through.
How I Put The Notepads And To-Do Lists Together
Now I could start with Canva templates in creating a design I liked and then share and upload it to my printer. I made notepads and to-do lists with 50 pages each.
After I printed those out I used my rotary trimmer and cut to the right size. Then I made sure the sheets on all sides are even and if they were off a little, I would take the scissors to get all pages even. Once I did that I used binder clips on the sides to keep the pages from moving.
Now I applied the PVA adhesive lightly on the top of the notepad with a small paintbrush. You let that dry for 10 minutes and then add another layer for 10 more minutes. You need to be careful you don’t get the adhesive on the actual pages as you are doing this. It dries very quickly. It might sound easy, but was a work in progress.
I finally got it figured out, but some became our own notepads. You didn’t want to waste anything. I was at a point where I had made different sizes and designs, so I was ready to move to my next project.
Now I am at 10 listings and Etsy ads where you can buy 3 products together and get FREE shipping. I can see how my shop is growing with inventory, but now I need to get to 20 to look like a real shop.
Materials I Used For Notepads And To-Do Lists
- Canva template designs (Canva)
- Hammermill premium paper Inkjet & Laser Paper 24 Lb, 97 Bright, Made in the USA (Amazon)
- Black And Color Ink Cartridges (Amazon)
- Carl rotary trimmer
- Canon TS99521C printer (Amazon)
- PVA glue adhesive (Amazon)
- Small paint brush (Amazon)
- Chipboard 30 pt. (Amazon)
- Scissors
- Binder clips (Staples)
How I Create Greeting Cards

Now that I finished the notepads and to-do lists, I was ready to create something I did before and use the supplies I already had. I decided greeting cards were what I wanted to start on. I went and looked at what other sellers were making and saw many different styles.
I had a style of my own from when I made them the first time. I then realized that sellers were creating bundles to add more products to a listing so the buyer could save money. I thought that was a great idea.
I have a few single cards, but they are $5 and over. I make most of my cards in a bundle of 5. That way I make 5 cards a day. I now looked at other videos to learn how to make different flower embellishments.
Searched Other Crafters On YouTube To Learn New Trends And Techniques
I found Tracey at Mindless Crafting and I watched several videos she had made and also learned how to make our own embellishments to have ready to add to the cards we were making. She was so patient in explaining the process and details. When you listen to her she is so inviting and you want to learn more of what she is teaching.
She and her husband make and donate cards to Veterans. They are always giving to good causes! Be sure and check out her videos, as she is great at what she does!
Watch the video below on How I Create My Greeting Cards:
Materials For Making Greeting Cards
- Blank white cardstock
- Colored paper and cardstock
- Envelopes (Joanns)
- Linen Liners
- Sleeves (Amazon)
- Bubble mailers (Amazon)
- Art Glitter Adhesive (Amazon
- Miracle tape
- Foam dots and squares to raise embellishments (Dollar Tree)
- Embellishments (Joanns and Dollar Tree)
- Pearls, gems, and buttons (Walmart)
- Stickers
- Assorted color ribbons
- Scissors
- Gel pens (Amazon)
- Watercolor pencils
- Cuttlebug
- Bone
- Carl rotary trimmer
Closing Thoughts
Have Sales And Be Patient
As of yesterday, I finished my 20th listing and so I was ready to do a 20% off everything sale to promote my shop to let everyone know I am open and ready for business. I was posting on social media platforms and did an Etsy ad for 4 days.
I worked hard and learned a lot and I understand it might be baby steps in the beginning to get your first sale, but I am willing to persevere and keep listening to the tips Etsy gives us so we can eventually become successful with our shop.
I need to continue to do research on what the trends are and focus on the right keywords, and SEO. These are really important factors!
I have watched several videos and liked what I saw from Anji Long about Printify and Print On Demand and Jay on Fixed Point about How To Start Your Own Print On Demand business and how to set up Printify and connect with Etsy.
Find Videos That Can Help You Through The Process
They both use Printify to purchase products and Canva or Creative Fabrica to find a design that you will upload to Printify and the work is done by the providers you pick. I have not done Print on Demand listings yet, but I have decided to start with women’s t-shirts.
I was very impressed with Jay on Fixed Point. His videos covered everything you need to know to get started. Here is a link to Printify and Sale Samurai, an All-In-One Tool For Massive Etsy SEO Growth.
I hope I have helped others who might be looking to open an Etsy shop. Just follow Etsy’s suggestions and listen to videos to get you there. Good luck with your shop!
Here is the link to my shop if you want to stop by – https://DeniseTreasureDesign.Etsy.com
“To accomplish great things, we must not only act but also dream, not only plan, but also believe!”
Anatole France
If you found this post helpful and informative, please share it with family and friends, and on social media. What do you like or buy on Etsy? You can leave a response in the comment section below.
Here is another post you might find useful – Why I Became A Personal Development Blogger.
Subscribe to my YouTube Channel This is my Etsy shop channel
Visit my podcast Health Becomes Fitness
Join my email list for my free newsletter and other posts on the right sidebar.
See you soon, Denise
Posts may contain affiliate links. As an Amazon Associate, we earn from qualifying purchases and collect a small commission at no cost to you. This helps my blog to keep going. Thank you! For more info, read my disclosure policy.
Etsy Shop Supplies